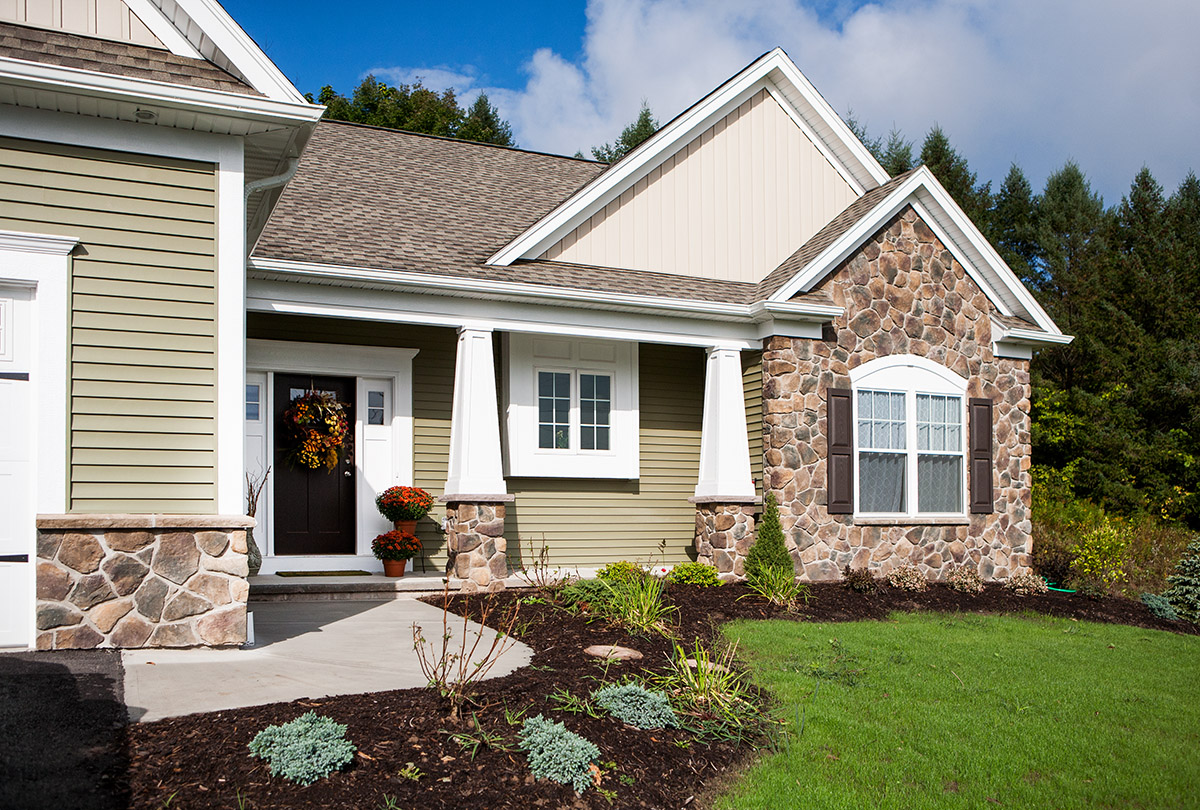
When shopping for real estate, most buyers look at a property online before ever stepping through the door. The photos in your online listing are more important than ever to get potential buyers to view your home in person. Hiring a professional photographer to take photos of your home is the ideal solution. However, if you don’t have the budget and you want to do it yourself, here are five tips to help improve your photos and get your house sold!
1. Turn off the flash.

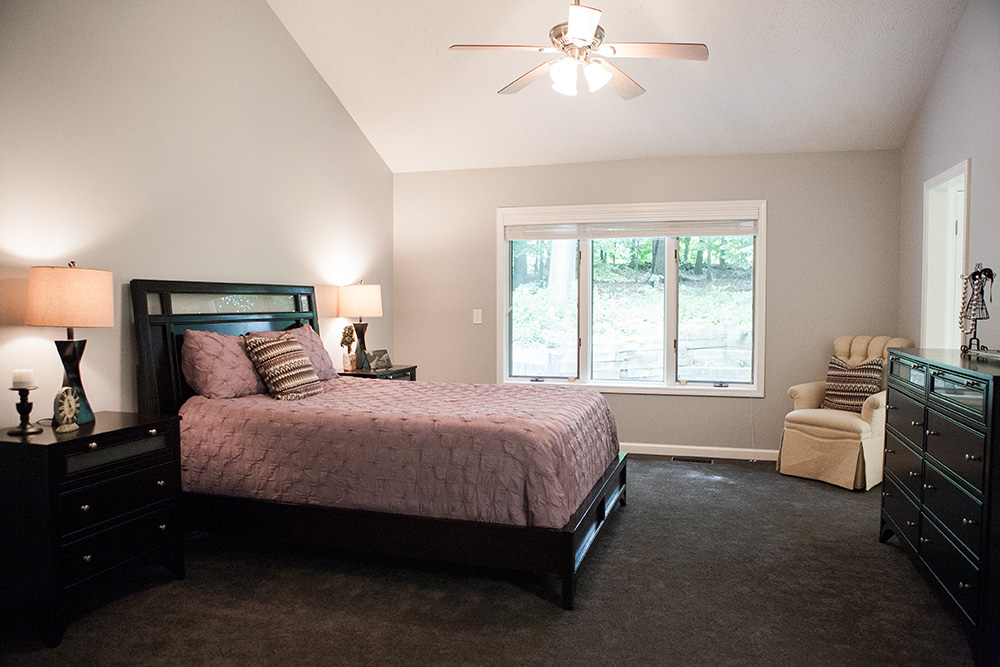
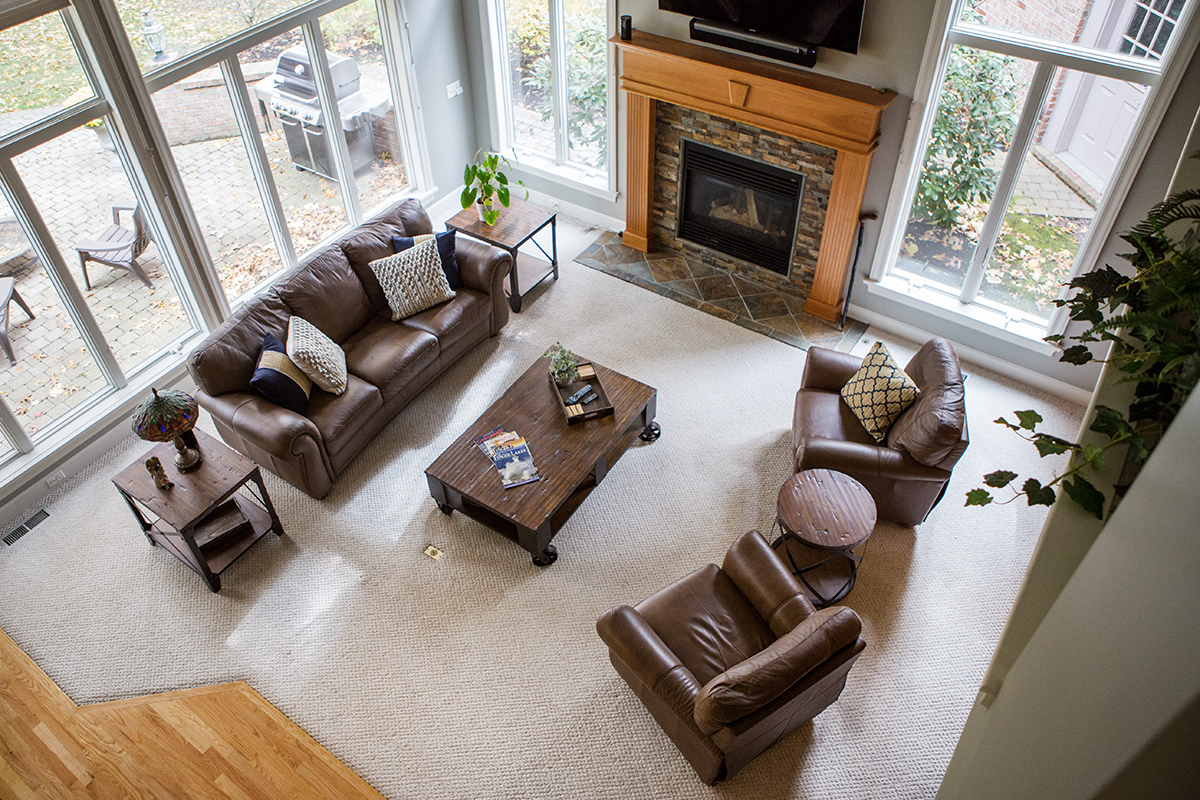
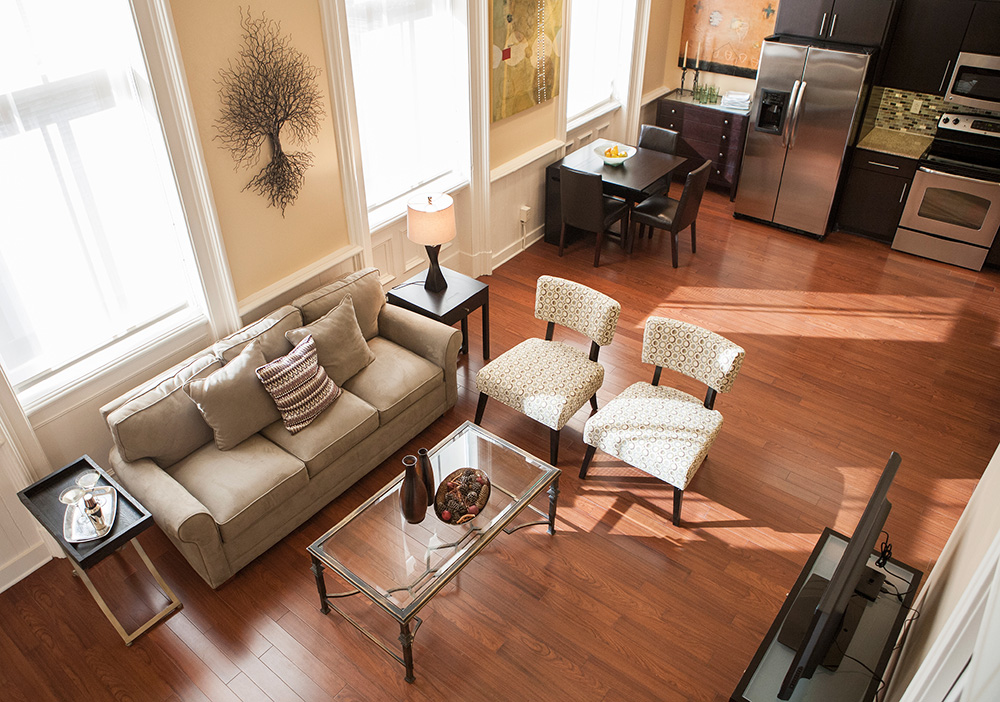
The best way to get the most pleasing photos of your home is by turning off your flash and using the natural light in the room. If you are getting blur in your photos then you will need to use a tripod so the camera doesn’t move. Try shooting the room with the lights on and off as well to see which gives you the best results.
2. Keep it straight.
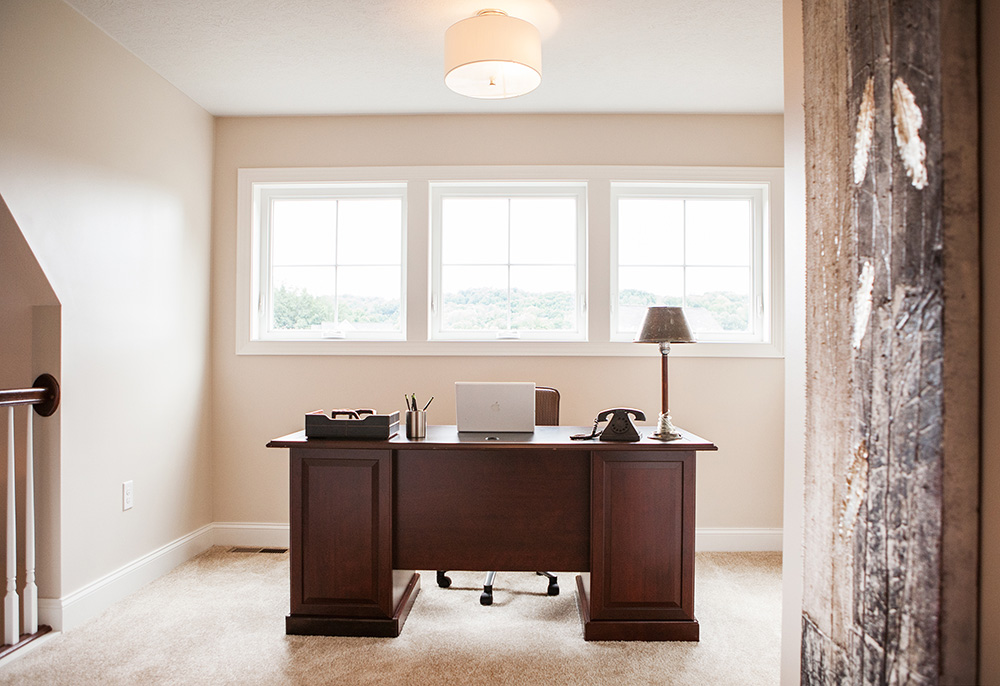
One of the most important things to consider when shooting interiors is to keep the lines straight. Hold the camera as straight as possible and line up your viewfinder to the edges of the room or windows in the room. This will keep your photos from “leaning” either backwards or forwards as well as being crooked. If you need to bend down or stand on a stool to get this effect, it’s worth the effort and the leg workout!
3. Show the features.
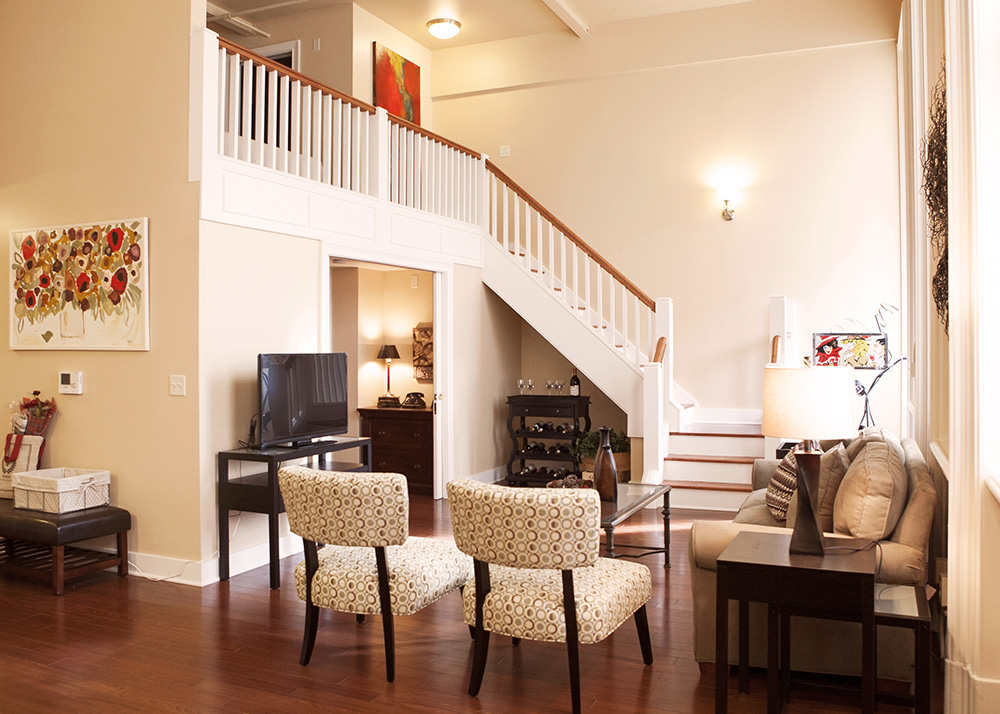
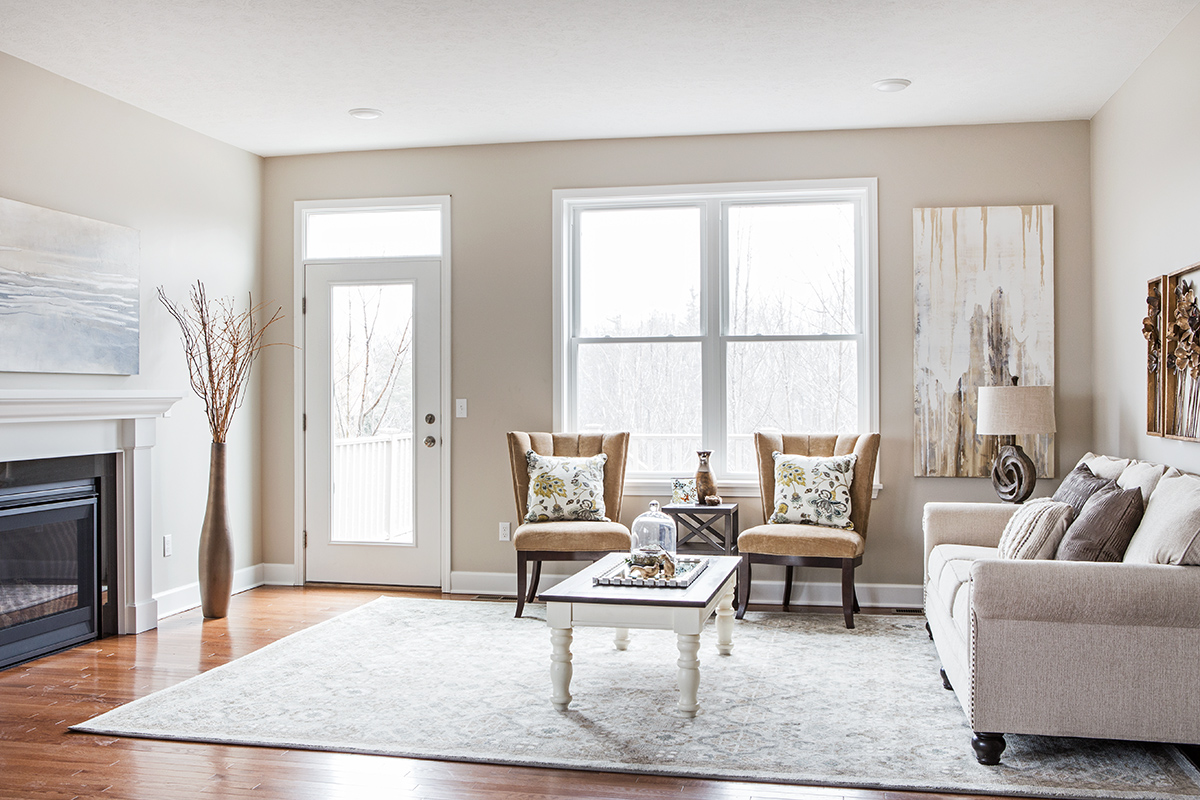
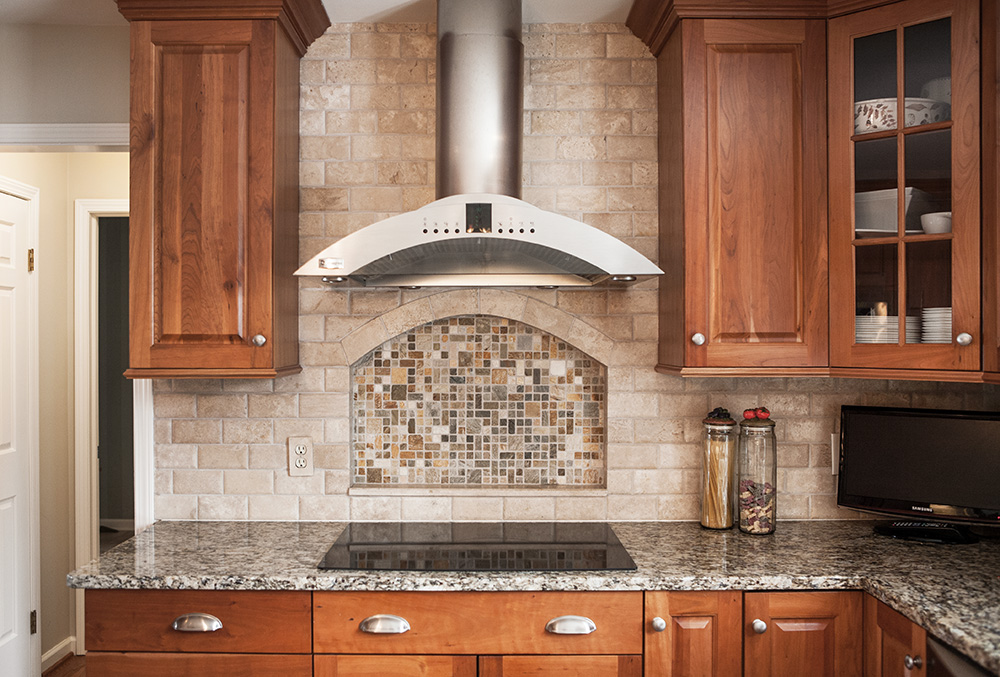
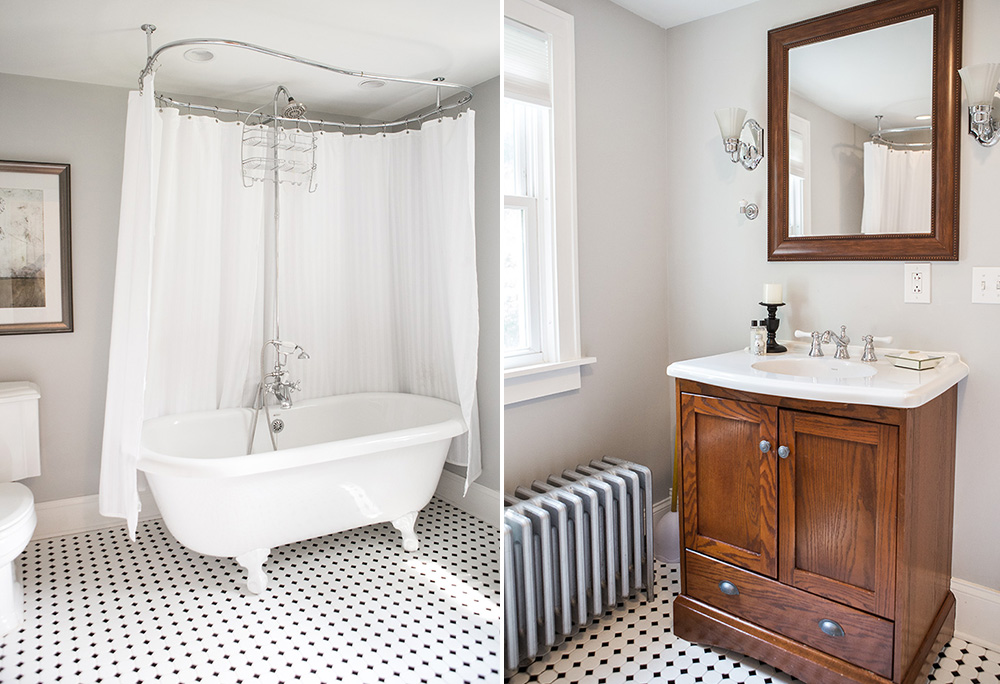
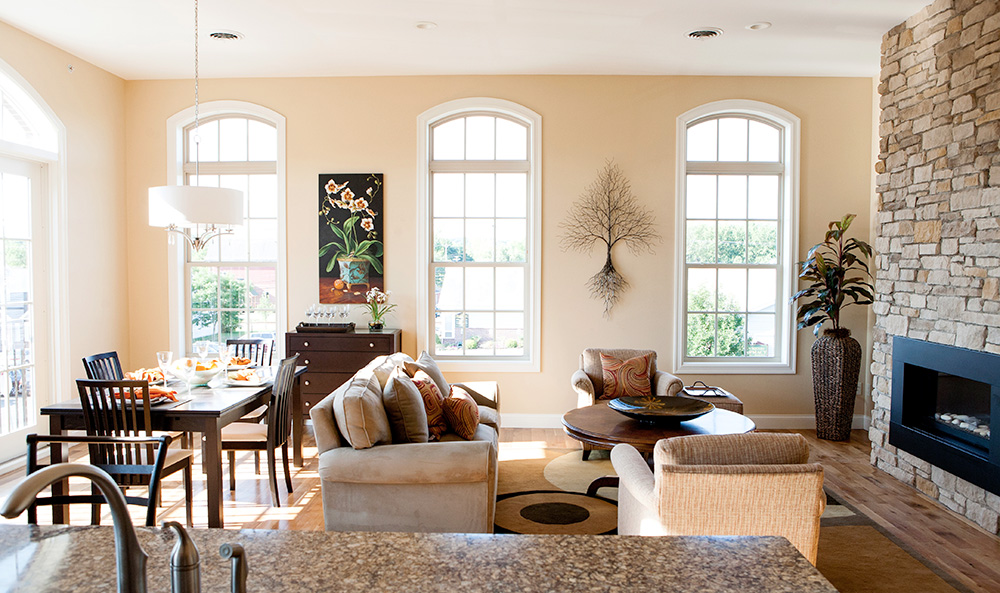
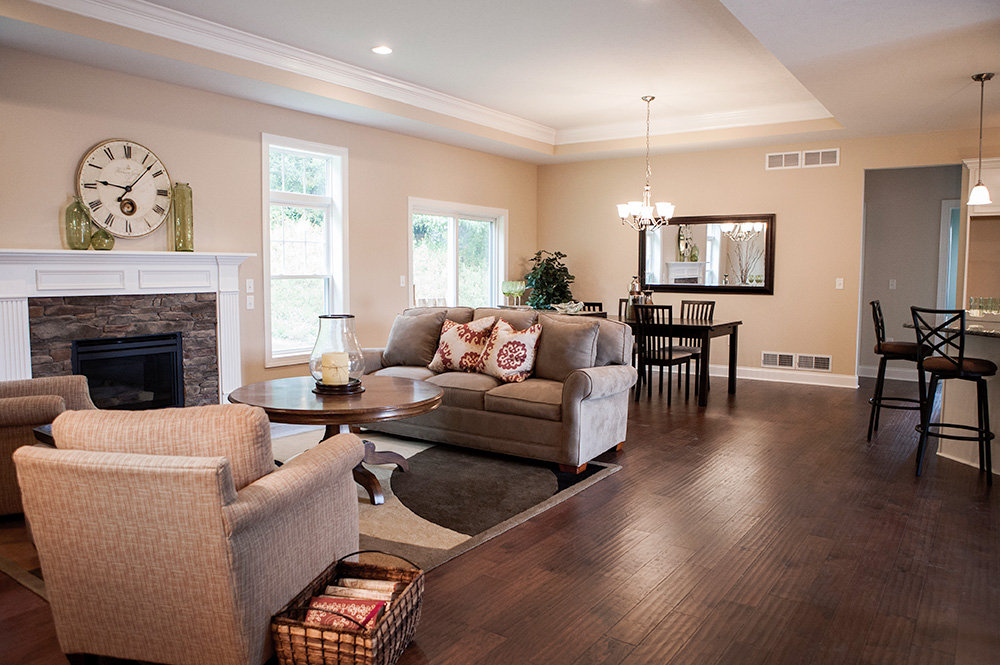
When shooting your home for sale, it’s more important to show the features of the home rather than the furniture in the home. Does your space have great natural light because of a wall of windows? Maybe a showpiece fireplace that anchors a room. Or hardwood flooring throughout. Be sure your photos show the architectural details so home buyers can be wowed by the home and not how it’s furnished. When shooting a room, think about what stands out in that room and put that in focus in your photos. Shoot many different angles so when you’re editing later, you can choose the best one of the bunch.
4. Go wide but not too wide.

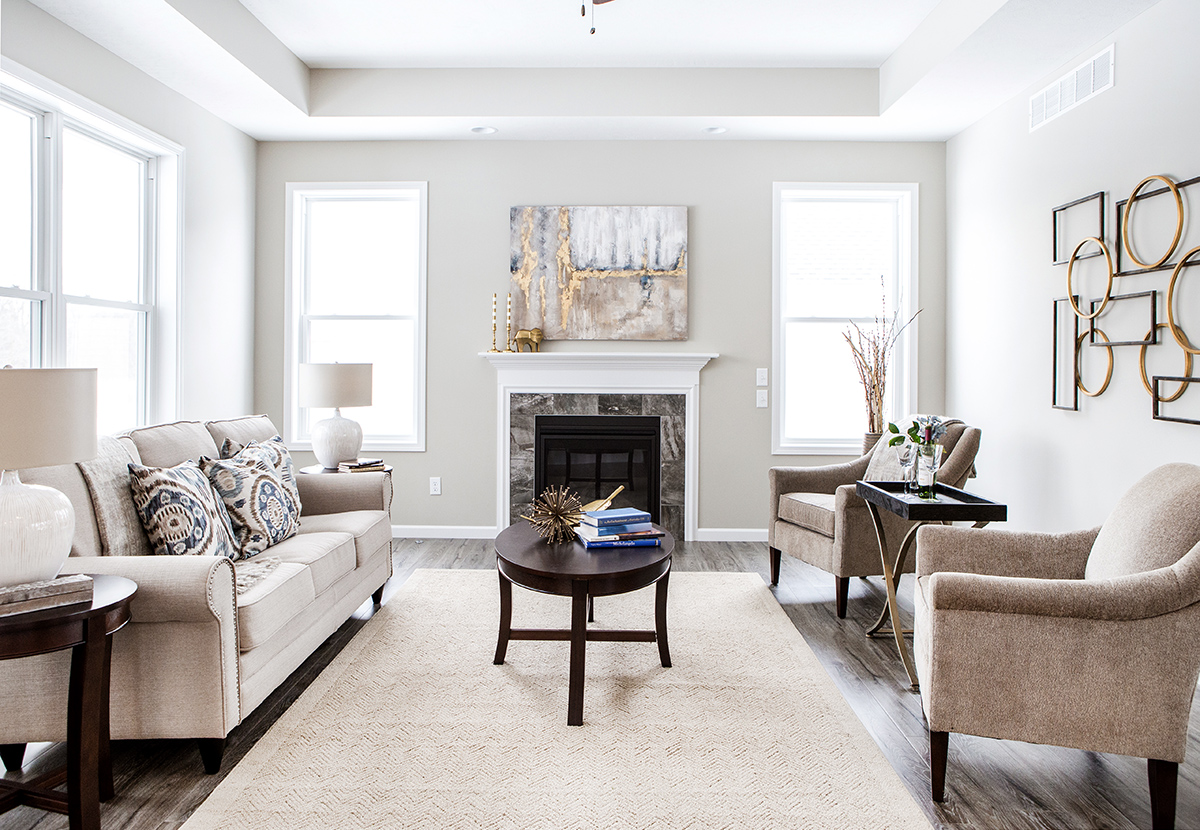
When taking photos of rooms, it is best to use a wide angle lens but don’t go too wide. You may think bigger is better but when photos are shot too wide, the room looks distorted. Buyers will just be disappointed when they see the real size of the space compared to what they saw online. Go wide but keep the photo in perspective to show the room as close to its actual size. When shooting small spaces a wide angle lens is definitely required.
5. Edit before uploading.
After you’ve taken all your photos, don’t forget to edit them first before uploading to the internet. Photos may need to be brightened and color adjusted. You can use an editor like Photoshop or Photoshop Elements to do basic editing. Most importantly, don’t forget to crop the images and reduce the file size for web viewing. Ideally MLS photo sizes should be 1024 x 768 pixels. This way when you upload the photos, the system will automatically reduce the image size and you won’t lose any of your image from cropping. And the images will upload faster with a smaller web friendly size.
Photography by Kristin Leitten